
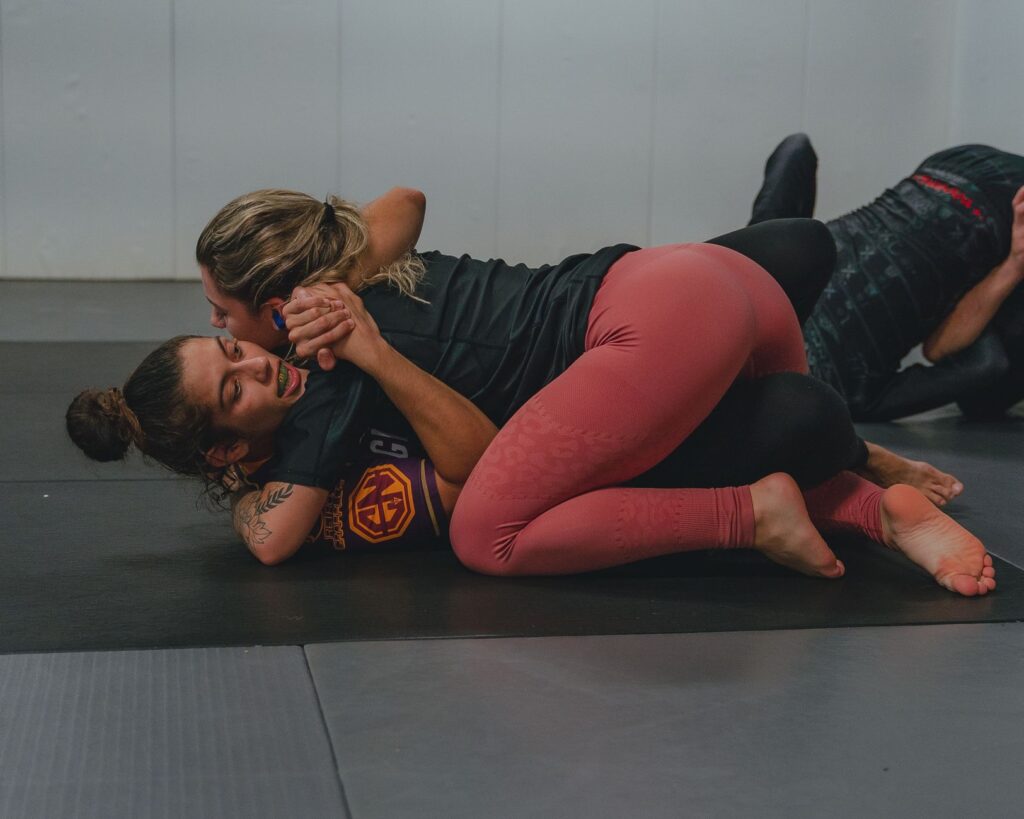
BJJ Turtle Position: Defense, Attacks & Escapes
Turtle is a doorway, not a home. Tight-turtle structure, the granby, sit-out and re-pull exits, when turtling denies pass points, and how backs get taken from it.
Turtle is a doorway, not a home. Tight-turtle structure, the granby, sit-out and re-pull exits, when turtling denies pass points, and how backs get taken from it.
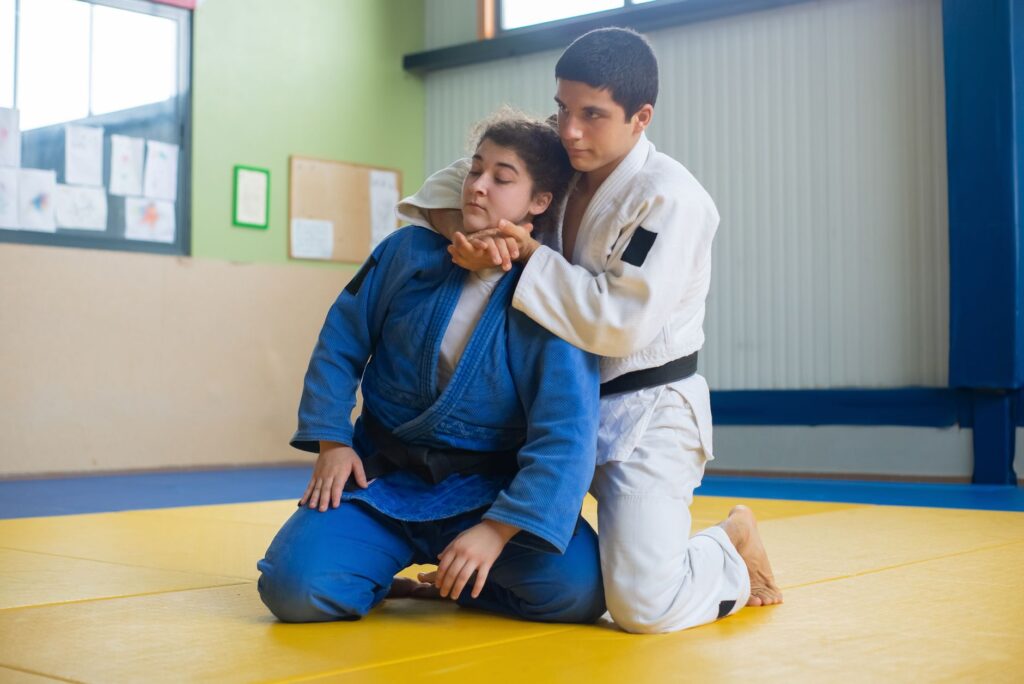
Back escapes follow a strict order: neck, shoulders, hooks — then face them. The hand fight, the shoulder walk to the open side, and how to beat the body triangle.
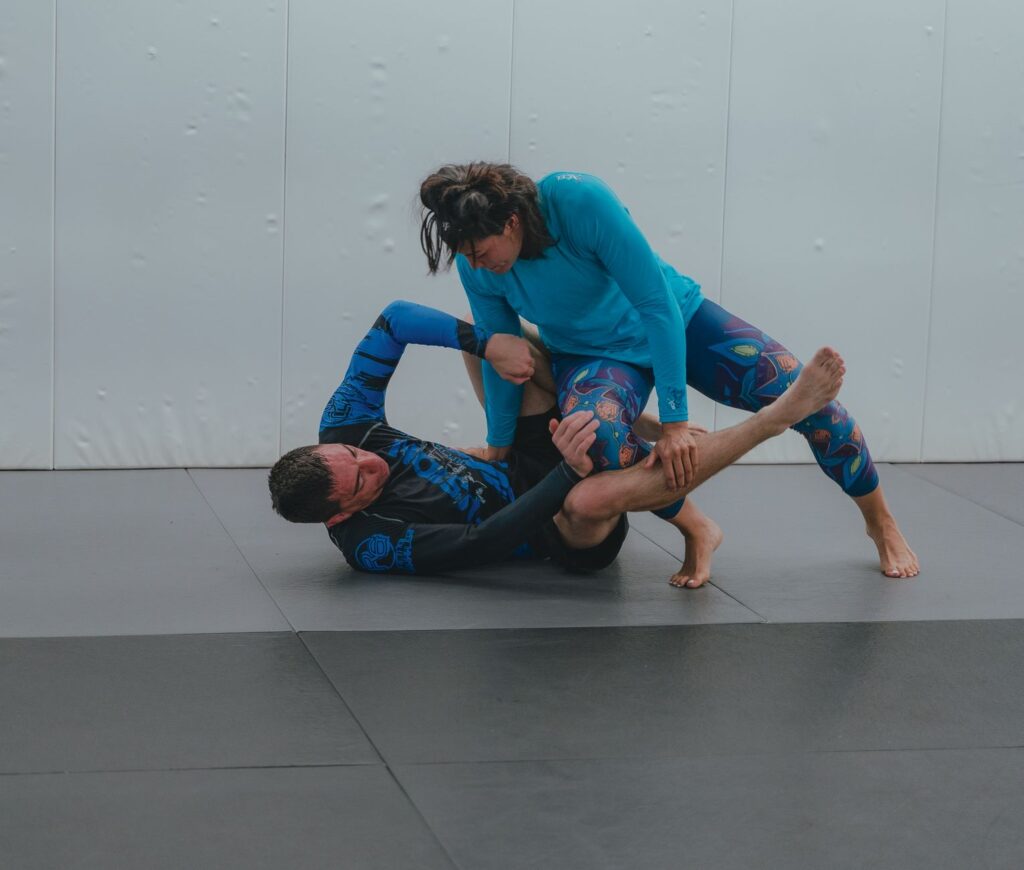
Side control escapes are won at the head and near elbow. Frame-and-shrimp mechanics, the underhook turn to the knees, kesa and north-south answers, and the timing that makes them work.
Two escapes solve most mount problems: the trap-and-roll and the elbow escape. The mechanics of both, why straight-arm pushing gets you armbarred, and how to chain them.
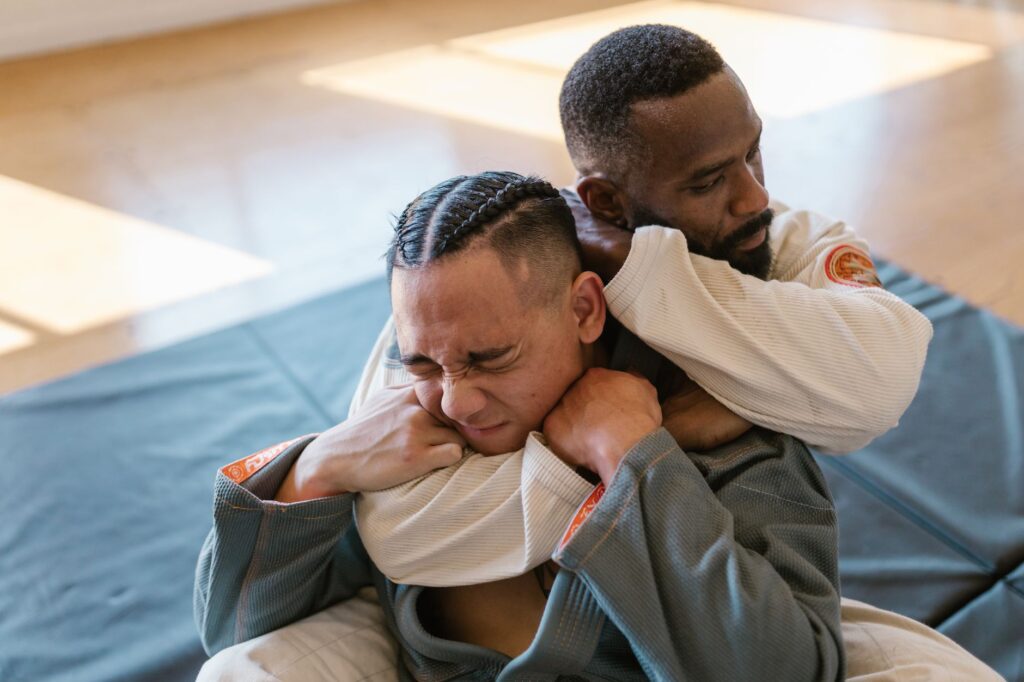
Back control scores 4 points and feeds the rear naked choke — the top finish in our UFC BJJ study. Seatbelt mechanics, hand fighting, and escapes.
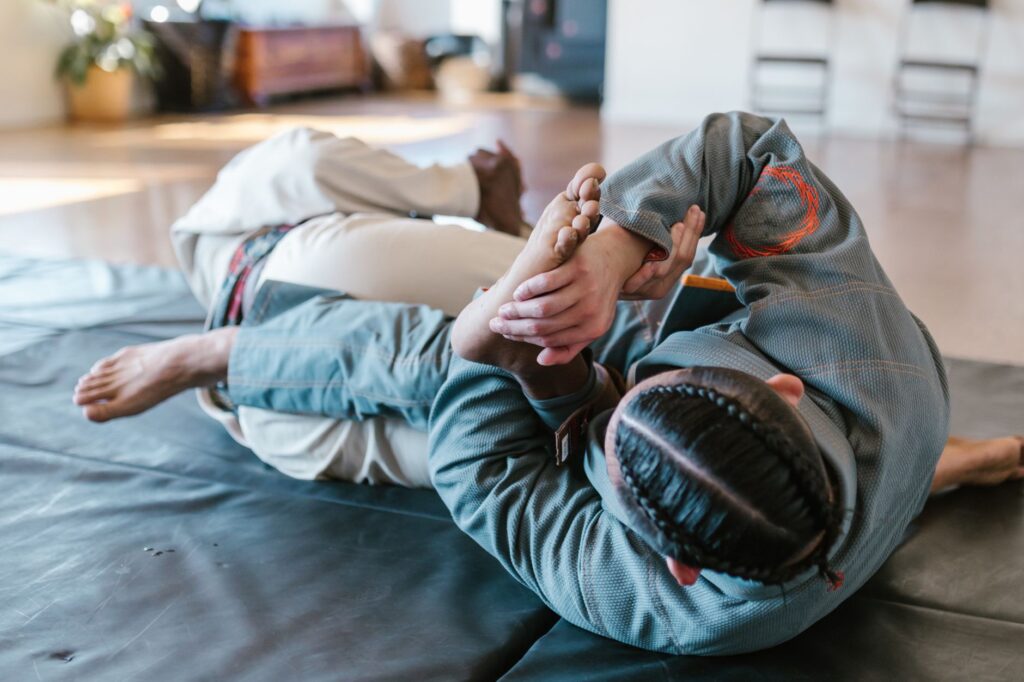
Closed guard is the bottom position where you attack. Breaking posture, the choke-armbar-triangle chain, sweeps, and how passers try to open it.
Free every Tuesday
The week’s biggest stories from BJJ, judo, wrestling, and submission grappling—curated for people who train.
Sent out weekly.Opt out anytime.
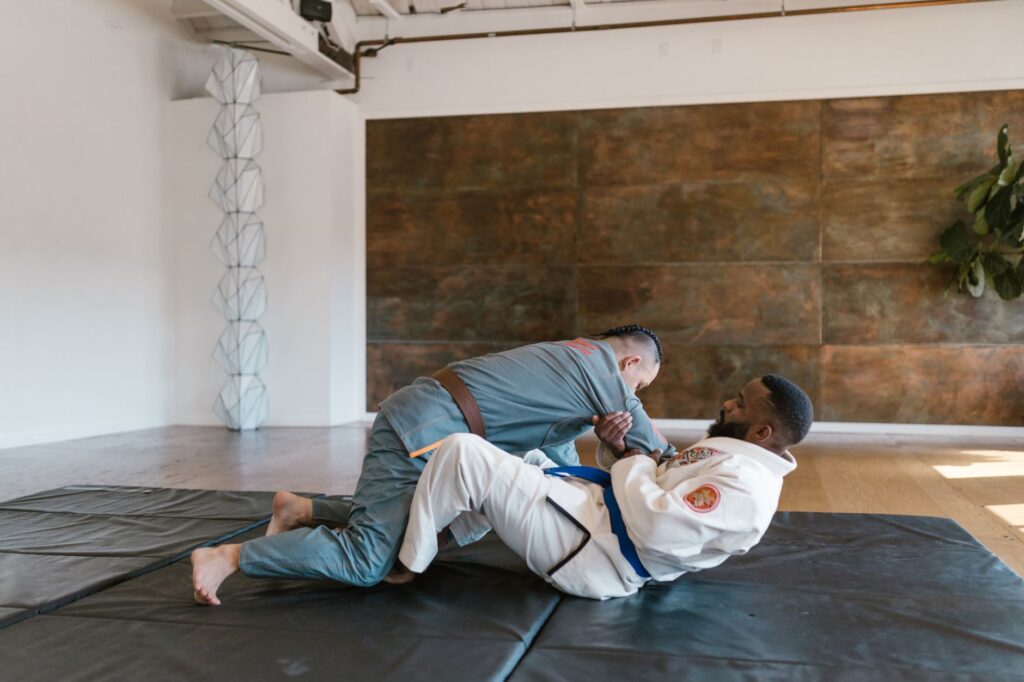
Half guard runs on the underhook. Knee shield, deep half and dogfight mechanics, the sweeps and back takes, and how top players try to pass it.
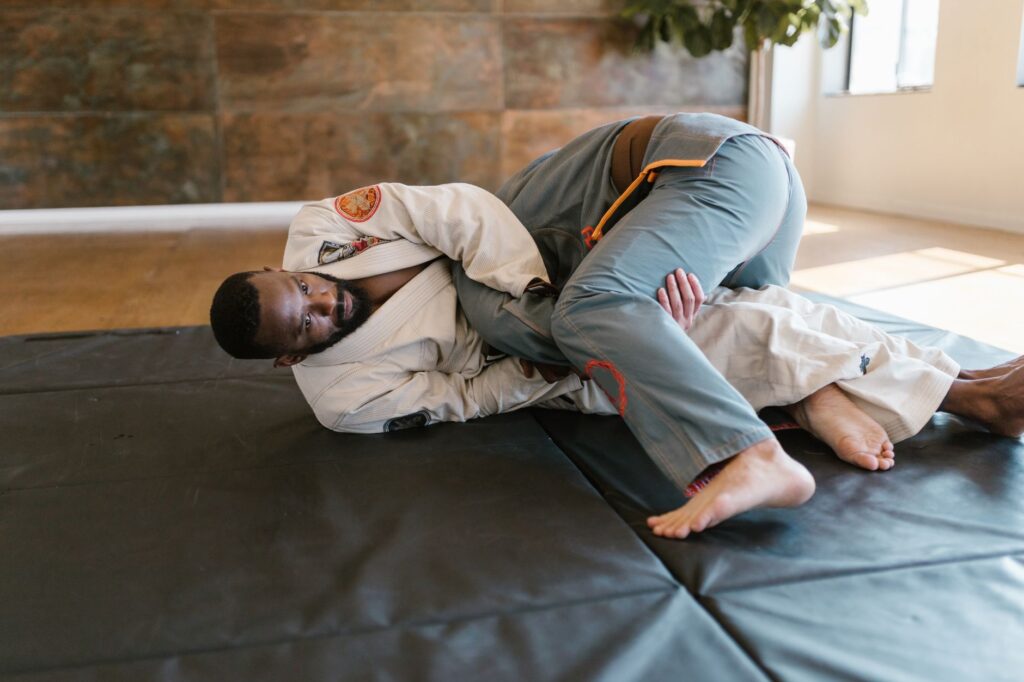
Side control scores nothing by itself — the pass into it does. Crossface and underhook mechanics, the staple submissions, and the escapes to expect.
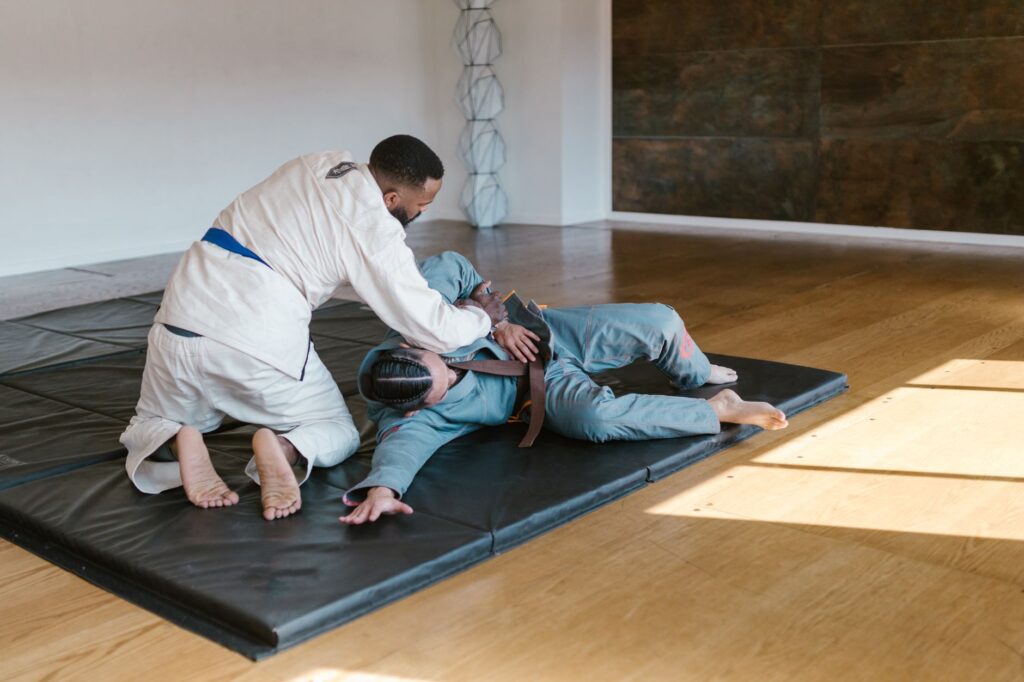
Mount scores 4 points and feeds BJJ’s highest-percentage attacks. How to climb, stay heavy, chain the choke-armbar dilemma, and shut down the escapes.
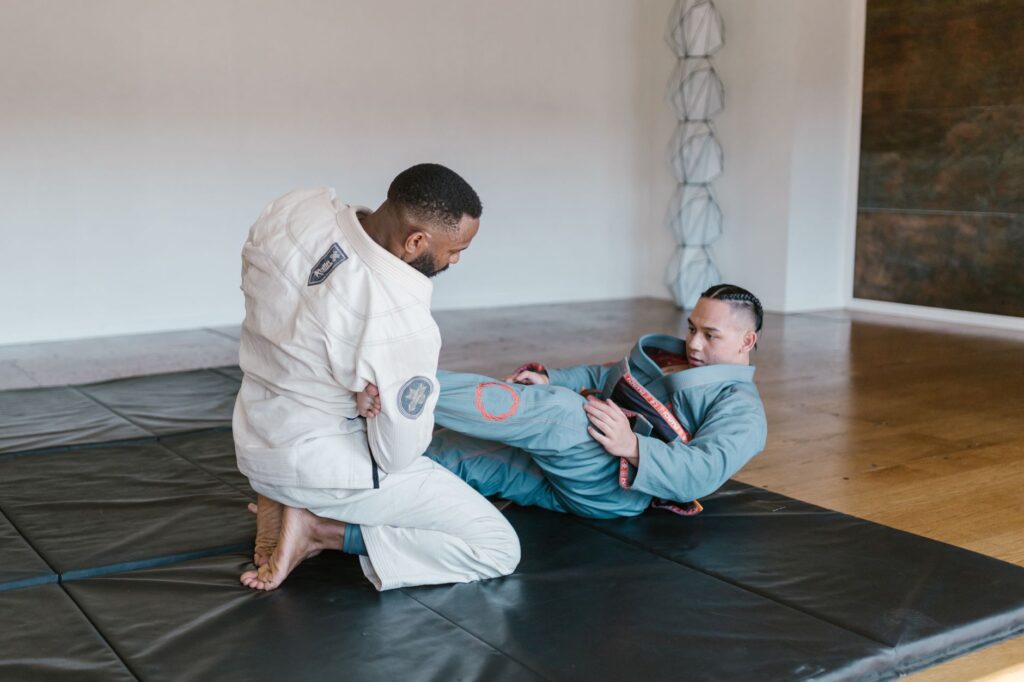
Understand Straight Ankle Lock mechanics, entries, defenses, competition rules, and safety—with positional cues and examples you can study.