Last updated: January 2026
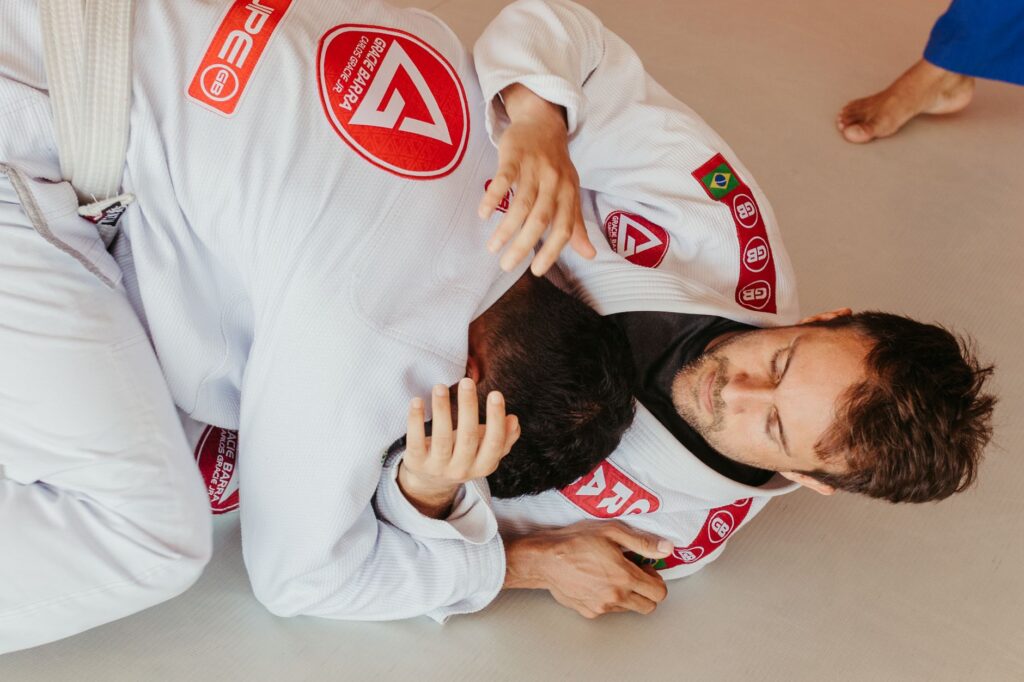
The triangle choke is one of the most iconic submissions in Brazilian Jiu-Jitsu (BJJ): it’s efficient, adaptable, and brutally effective when your mechanics are dialed in. In plain English, you use your legs to form a figure-four around your opponent’s neck and one shoulder, creating a blood choke by compressing the carotid arteries. If you’re building a submission game that works in gi, no-gi, and even MMA grappling exchanges, the triangle is a must.
This guide covers how the triangle works, the main variations, high-percentage entries, finishing details, and safe, competition-legal defenses (no nonsense, no “just be stronger”).
Quick answer: A triangle choke works when your legs form a tight figure-four around the opponent’s neck + one trapped shoulder, and you create angle so your top leg’s hamstring compresses one side of the neck while their own shoulder compresses the other.
Best finishing cue: “Angle first, then hide the shoulder, then squeeze.”
Table of Contents
- History of the Triangle Choke
- How the Triangle Choke Works (Mechanics)
- Types of Triangle Chokes
- High-Percentage Triangle Entries
- Finishing Details (The Part Everyone Messes Up)
- Gi vs No-Gi Adjustments
- Defenses and Counters (Safe + Competition-Legal)
- Drills and Training Tips
-
For another head-and-arm style submission concept, see GrapplerHQ’s guide to the arm triangle choke, which explains setups, finishing mechanics, common mistakes, and safety notes.
FAQs
History of the Triangle Choke
The triangle choke is known in Judo as sankaku-jime (triangle strangle). While people sometimes describe it with dramatic “battlefield” origins, the reliable modern history points to early 1900s grappling—especially Kosen Judo competition—where ground fighting rules helped triangle attacks evolve and spread. Brazilian Jiu-Jitsu later adopted and refined sankaku-jime as the guard game exploded in Brazil, and the technique became famous worldwide once it showed up repeatedly in high-profile competition and MMA.
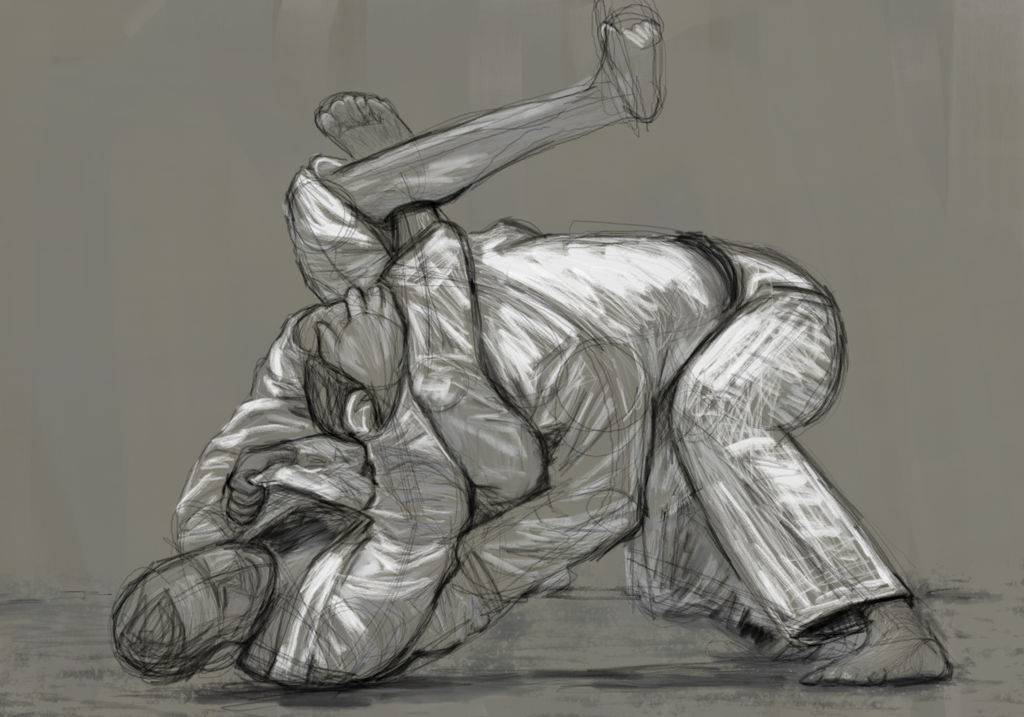
How the Triangle Choke Works (Mechanics)
A properly applied triangle is primarily a blood choke (vascular restraint), not a “crush the windpipe” move. Your top leg’s hamstring compresses one side of the neck, while the opponent’s trapped shoulder compresses the other side. The choke becomes dramatically more effective when you:
- Control posture (make their head low and their spine curved).
- Win the angle (you’re not square under them).
- Hide the shoulder (their trapped arm is across your centerline).
- Connect knee-to-knee and finish with your hips engaged.
If your triangle feels like a leg workout instead of a choke, you’re usually missing angle, posture control, or shoulder position.
Types of Triangle Chokes
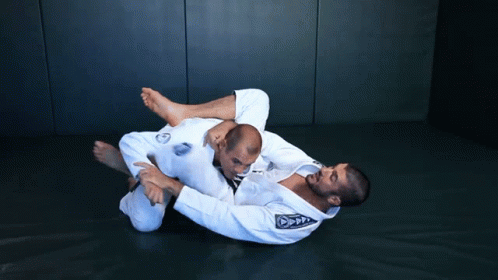
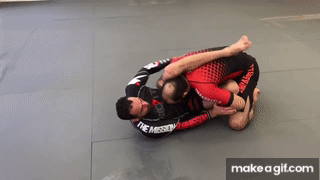
Classic Triangle Choke (Closed Guard / Open Guard)
This is the version most people learn first: you trap one arm inside your legs, cut an angle, lock a figure-four with your legs, then finish by squeezing and pulling the head.
- Key points:
- Break posture early (head low, elbows separated).
- Get “one arm in, one arm out” and push the trapped arm across.
- Cut to roughly a 90-degree angle before you try to squeeze.
- Lock your triangle high on the neck (not across the jawline).
Reverse Triangle Choke
The reverse triangle uses the figure-four in the opposite orientation. You’ll see it from scrambles, turtle transitions, and back exposure sequences when the opponent turns away. It’s a common finishing tool in modern no-gi where leg positioning changes quickly during transitions.
Side Triangle Choke (Top Position / Side Control)
Side triangles are often used as a “punishment finish” when the opponent defends arm submissions. You trap the head and near-side arm, step your legs into position, and lock the figure-four from a top angle. It’s especially strong for controlling transitions into armlocks, kimuras, and back takes.
High-Percentage Triangle Entries
Triangles are easier when you stop thinking of them as a single move and start thinking of them as a response to posture + arm position. Here are three reliable entries that work across styles.
Entry 1: Classic Closed Guard Arm Isolation (Collar tie / wrist control)
- Control a wrist or sleeve and pull the arm across your centerline.
- Break posture (head down) with a collar tie, head control, or gi grip.
- Shoot your leg over the shoulder and immediately clamp—don’t let them re-posture.
Entry 2: Triangle From Overhook (Clamp Guard / Williams guard feel)
If you like overhooks, triangles can show up almost by accident. When you overhook and angle out, your top leg is already in the right lane. From there you can shoot the triangle, or use the threat to open sweeps and omoplatas.
Entry 3: Triangle From Guard Passing Attempts (Knee-in-the-middle / posture mistake)
Many triangles happen because the top player puts a knee in, posts an arm, and leaves their elbow drifting. If you can frame, control the posting arm, and angle your hips, the triangle becomes a natural counter to sloppy passing posture.
Finishing Details (The Part Everyone Messes Up)
If your triangle isn’t finishing, don’t squeeze harder—fix the structure. Use this checklist:
| Problem | High-percentage fix |
|---|---|
| Opponent postures up and you can’t break them down | Control the head (collar tie / crown of head), pull your knees to chest, and angle out before locking tight. |
| Triangle feels tight but no tap | Move your locking knee higher, point your toes up on the choking leg, and pull the trapped arm across your centerline. |
| You get stacked immediately | Grab the shin/ankle of your choking leg, angle off, and consider switching to omoplata or armbar if posture breaks. |
| Neck space won’t close | “Hide the shoulder”: shove their trapped shoulder deeper across your hips, then lock again. |
Step-by-step Finish (Classic Triangle)
- Break posture: head down, spine curved.
- One arm in, one arm out: isolate and push the trapped arm across.
- Leg over shoulder: shoot your top leg high across the back of the neck.
- Lock the figure-four: your foot goes behind your knee (not your calf).
- Cut the angle: hip escape until you’re roughly perpendicular.
- Close the gap: knees pinch, hips engage, head control pulls down.
Safety note: triangles can come on fast. Apply pressure gradually, your partner should tap early, and you should release immediately.
Application in Gi vs No-Gi
Gi BJJ
- Extra posture control: collar grips (or a cross collar grip) make it easier to keep the head down.
- Sleeve control: helps prevent the opponent from posturing or stacking cleanly.
- Chaining attacks: triangles connect naturally to omoplatas and armbars when the opponent defends by hiding the arm or turning.
No-Gi BJJ
- Angle is everything: without cloth grips, you must win angle with hips and frames.
- Overhook + head control: a strong overhook and head tie replaces the “collar grip” job.
- Expect scrambles: be ready to transition to armbar/omoplata-style controls (or come up on top) if the opponent slips the head free.
Defenses and Counters (Safe + Competition-Legal)
Triangle defense is mostly about posture, elbow position, and not letting the attacker cut angle. Here are reliable options you can train safely.
- Posture early: straighten your spine, look up, and keep your trapped elbow tight to your ribs.
- Stack with control: if you must stack, drive forward with balance and keep your neck safe—your goal is to create space, not to “win a toughness contest.”
- Hand on the hip / hamstring: block the hip escape so they can’t reach that 90-degree angle.
- Leg pry (late-stage): if the triangle is locked, create space at the knee line and step your trapped-side knee forward to reduce choking pressure.
- Pass the guard after escaping: once your head is free, immediately improve position (don’t reset inside their guard).
Important: Avoid any advice that relies on dangerous slams or uncontrolled drops. Good jiu-jitsu solves problems without hospital visits.
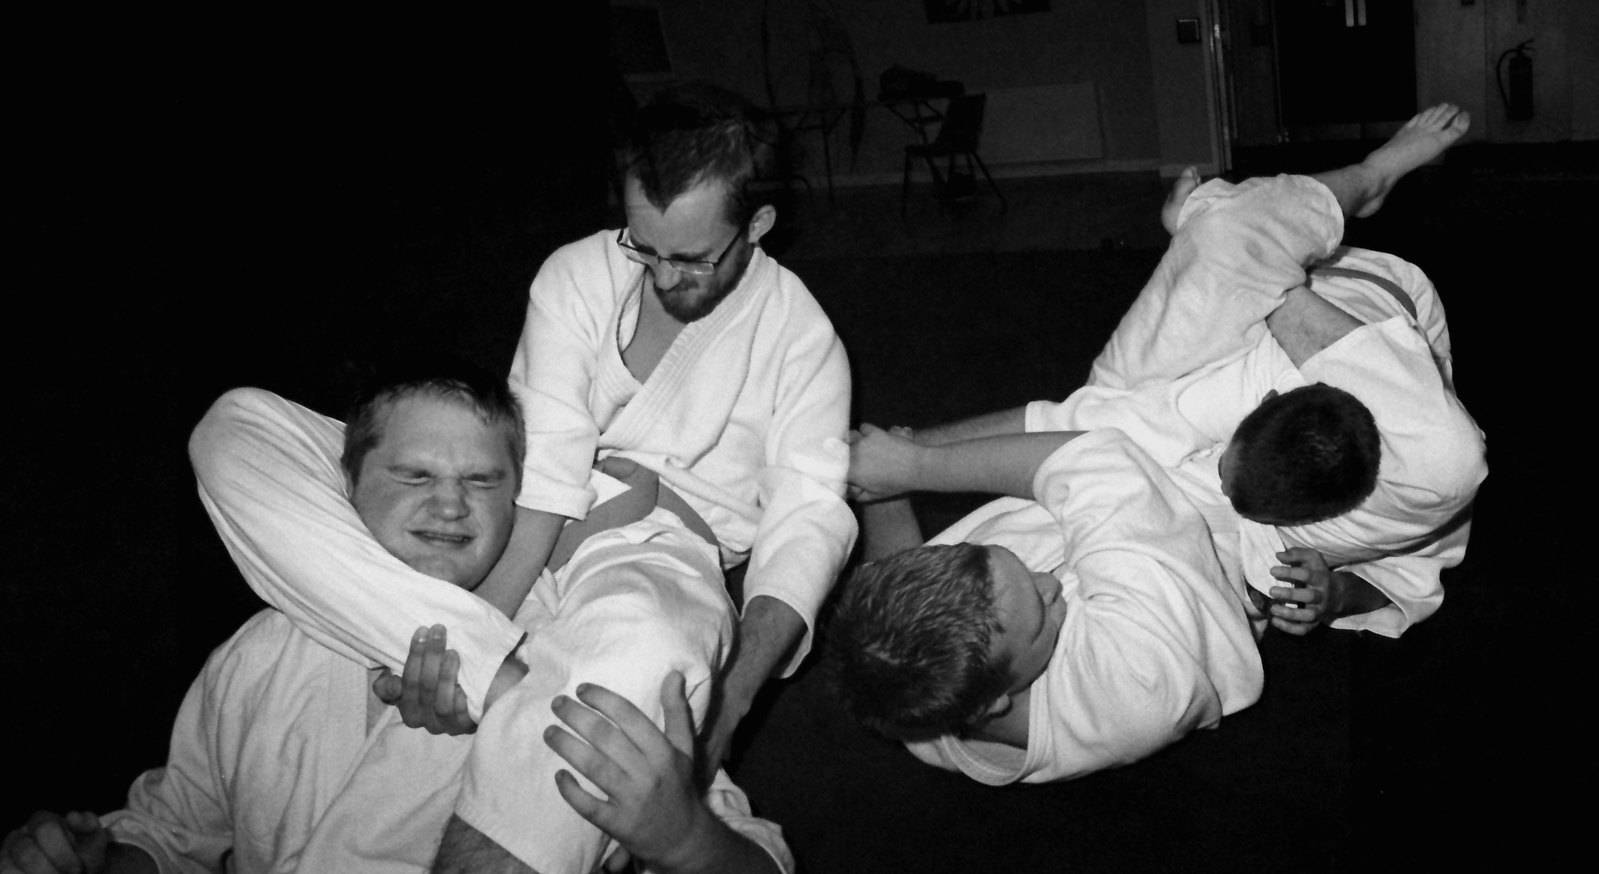
Drills and Training Tips
- Positional sparring: start in “triangle locked but not finished” and alternate 60–90 second rounds (finisher vs escape).
- Angle drill: from guard, partner postures; you must cut to 90° before locking. Reset if you lock square.
- Chain drill: triangle → opponent stacks → switch to omoplata/armbar → reset.
- Mobility & strength: hip mobility helps, but the real performance boost is timing + angle + posture control.
Frequently Asked Questions
Is the triangle choke a blood choke or an air choke?
Primarily a blood choke. Done correctly, it compresses the carotid arteries using your hamstring and the opponent’s trapped shoulder.
Why does my triangle feel tight but my partner doesn’t tap?
You’re usually missing angle, shoulder position (arm not across), or your lock is too low. Cut to 90° first, then “hide the shoulder,” then squeeze.
What’s the best triangle defense?
Early posture and elbow discipline. Keep your trapped elbow tight, stop the hip escape (angle), and don’t let your head get pulled down.
Does the triangle work in no-gi?
Absolutely. You just have to replace gi grips with head control, overhooks/underhooks, and better angle management.
Conclusion
The triangle choke is a classic for a reason: it scales with skill. Once you understand the mechanics (neck + trapped shoulder), the triangle becomes less of a “move” and more of a position you can force. Drill the angle, learn to break posture reliably, and chain it with omoplatas and armbars—your guard game will level up fast.