
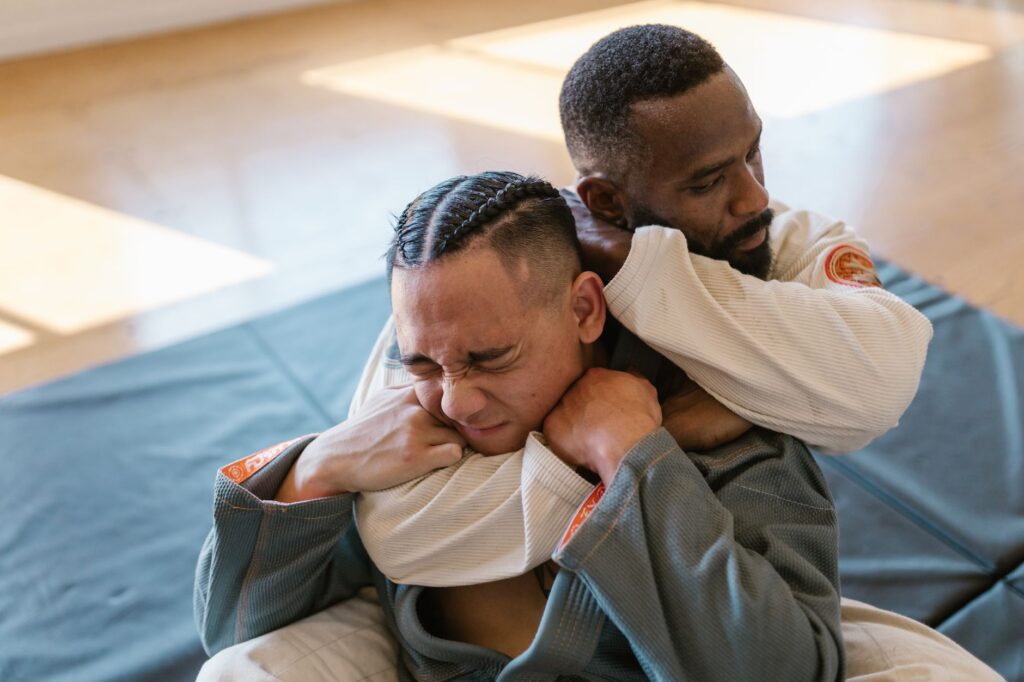
Rear Naked Choke: Mechanics, Finishes, Defense & Safety
The rear naked choke accounts for 39.1% of all UFC submissions — more than the next three combined. How it works, why it is called naked, finishing details and defence.
The rear naked choke accounts for 39.1% of all UFC submissions — more than the next three combined. How it works, why it is called naked, finishing details and defence.
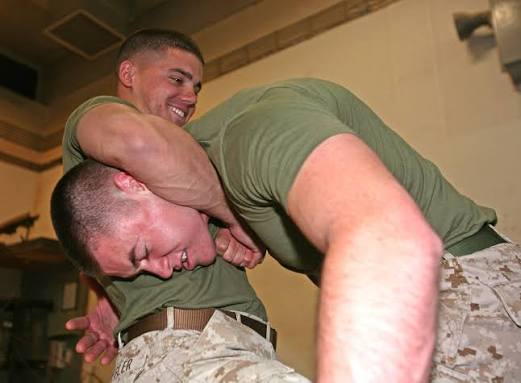
The guillotine is judo’s front naked choke and the 2nd most common UFC submission (293 finishes, 17.7%). High-elbow vs arm-in mechanics, finishing details and the Von Flue trap.
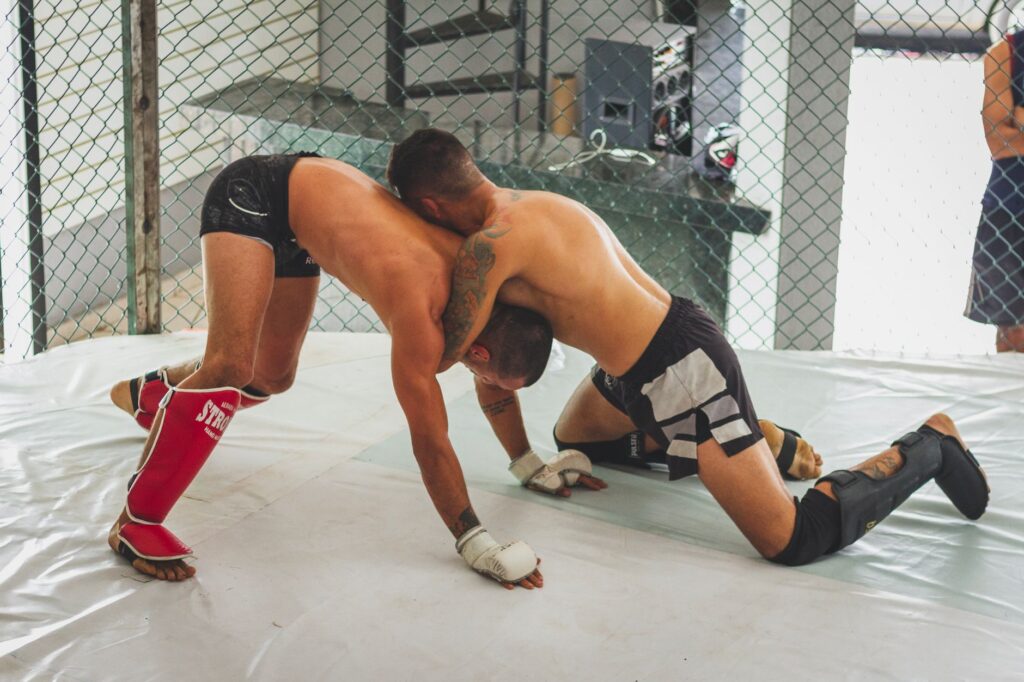
The D’Arce threads under the arm first — the anaconda goes under the neck. Mechanics, the figure-four finish, how it differs from the anaconda and arm-triangle, and UFC data.
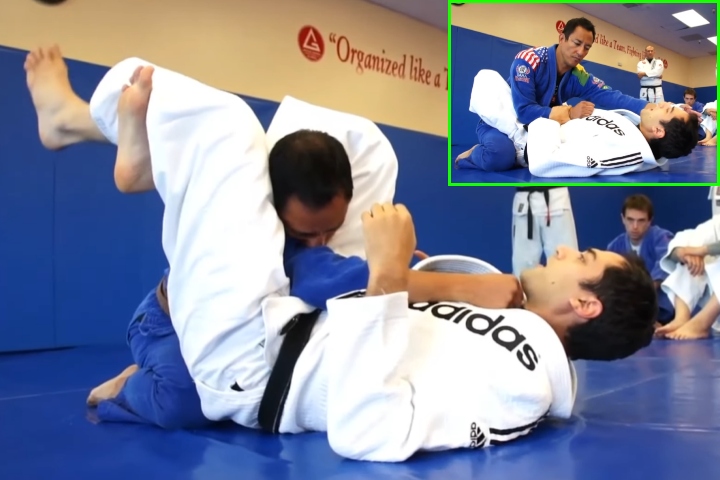
The triangle choke explained: how it actually closes both carotids, the five finishing details, why triangles fail, and where it ranks across 8,591 UFC bouts.
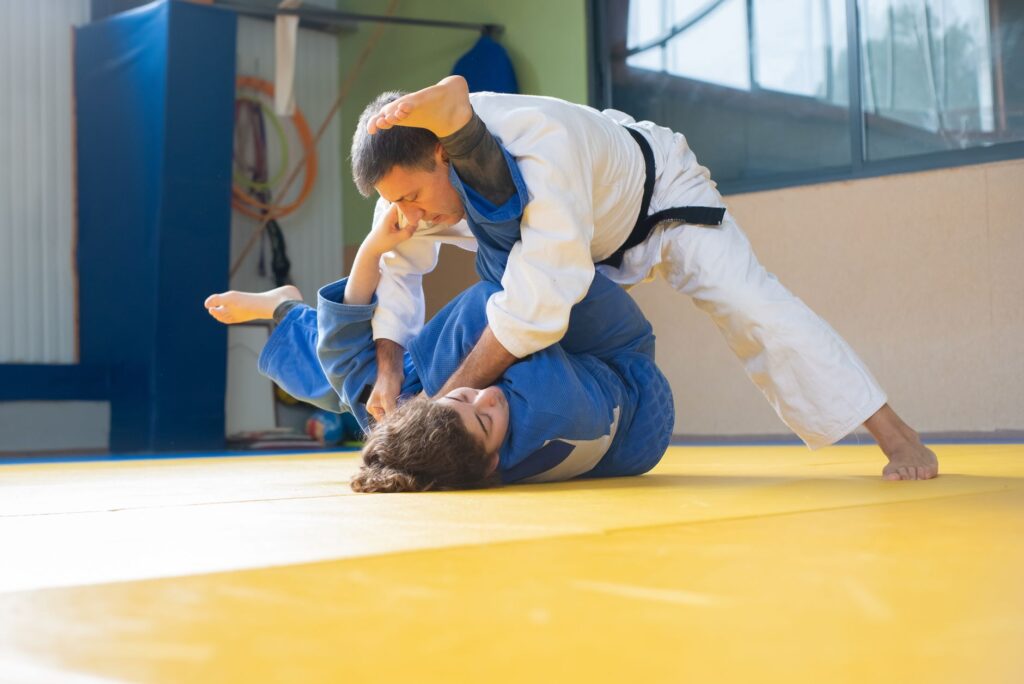
Knee-on-belly scores 2 points and trades side control’s smother for mobility — attack the arm, chase the back. Control, transitions, and escapes.
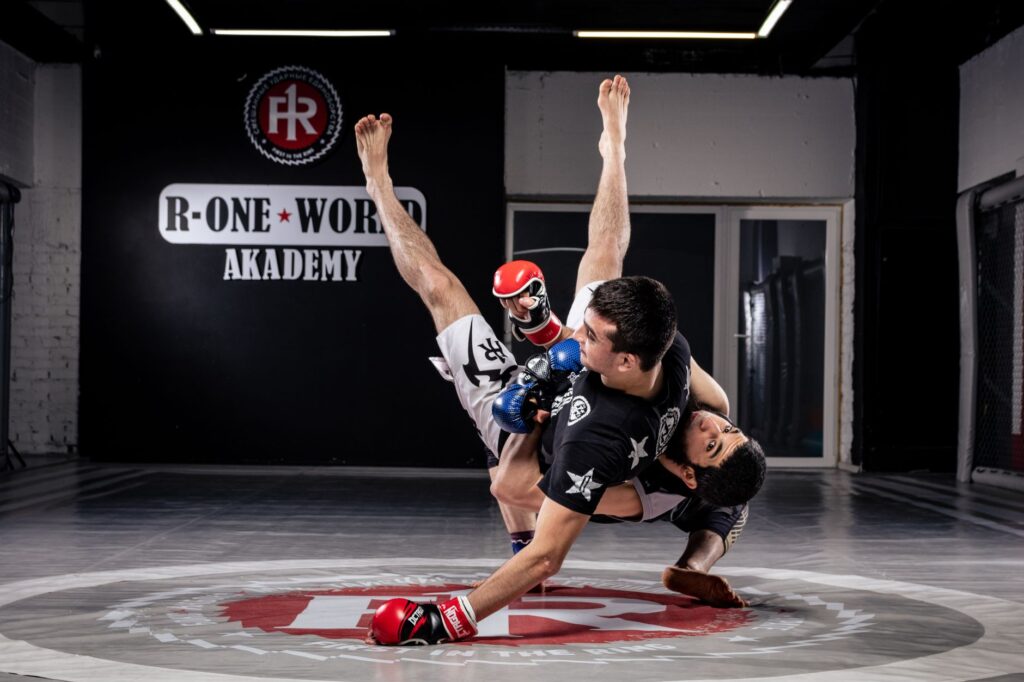
The ankle pick needs no deep shot and keeps your head up, out of the guillotine — the takedown for grapplers who’d rather not wrestle. Setups and finishes.
Free every Tuesday
The week’s biggest stories from BJJ, judo, wrestling, and submission grappling—curated for people who train.
Sent out weekly.Opt out anytime.
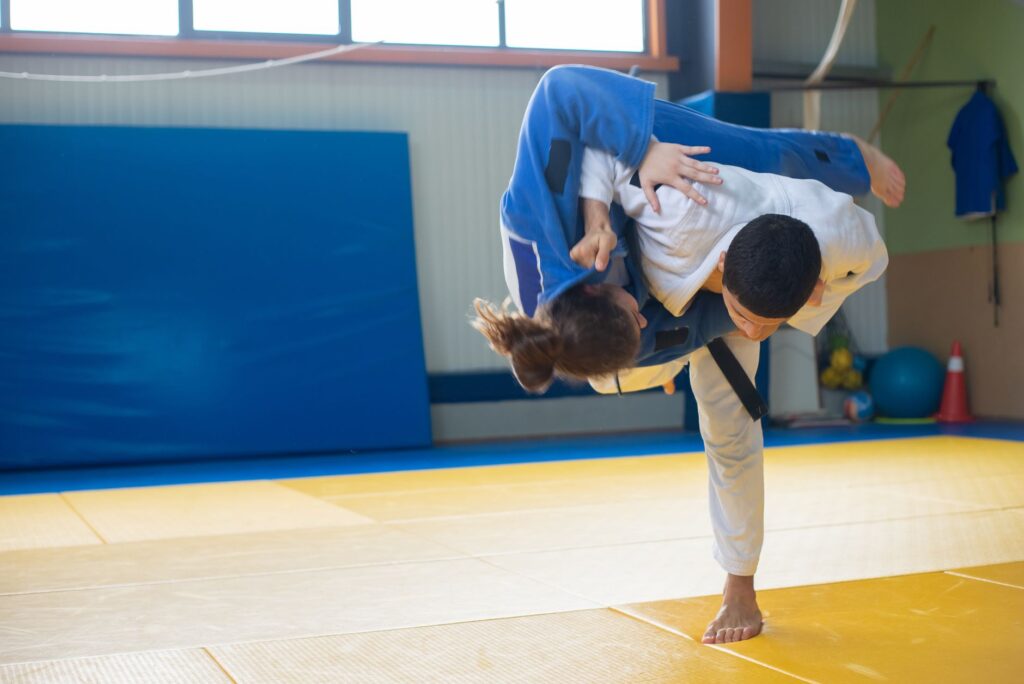
The body lock is an upper-body clinch takedown with no leg grab and no exposed neck. Learn where to clasp, how to trip, and how to defend it.
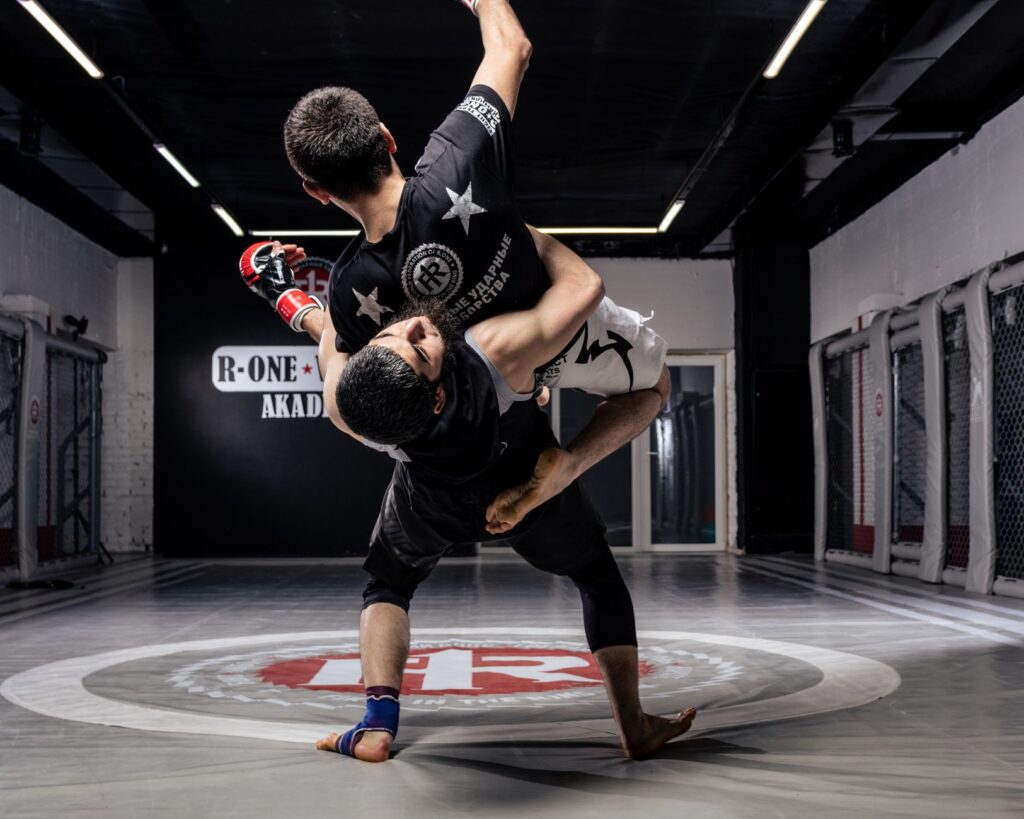
The single-leg is BJJ’s go-to takedown: lower commitment than a double and guillotine-safe if the head stays inside. Setups, finishes, and defense.
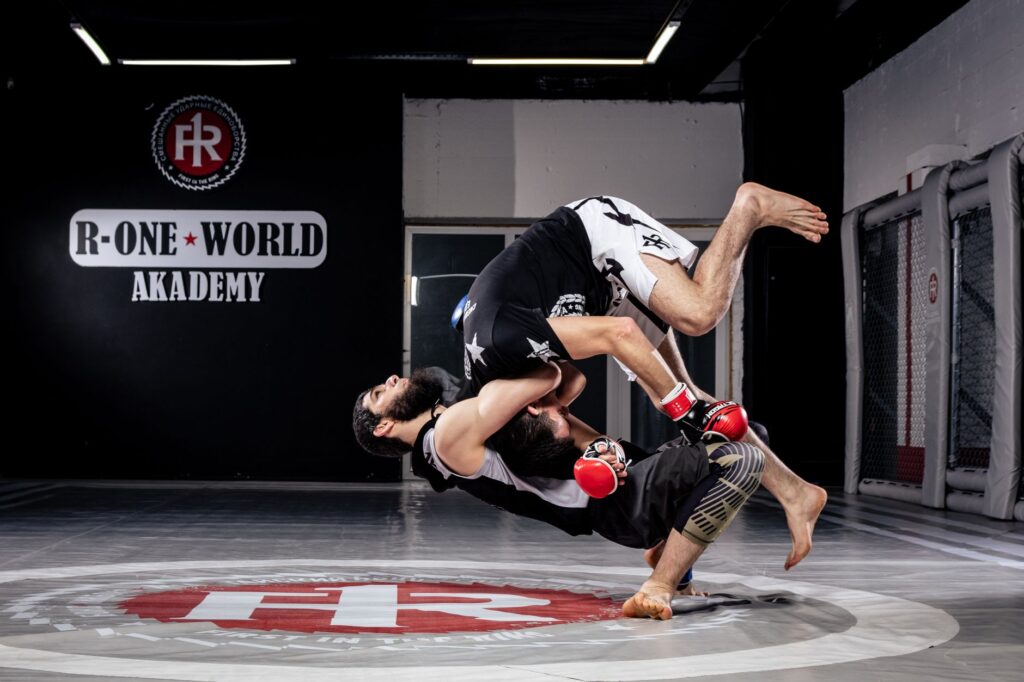
The double-leg takes both legs and the whole base at once — higher reward, higher guillotine risk. Learn the penetration step, finishes, and the sprawl.
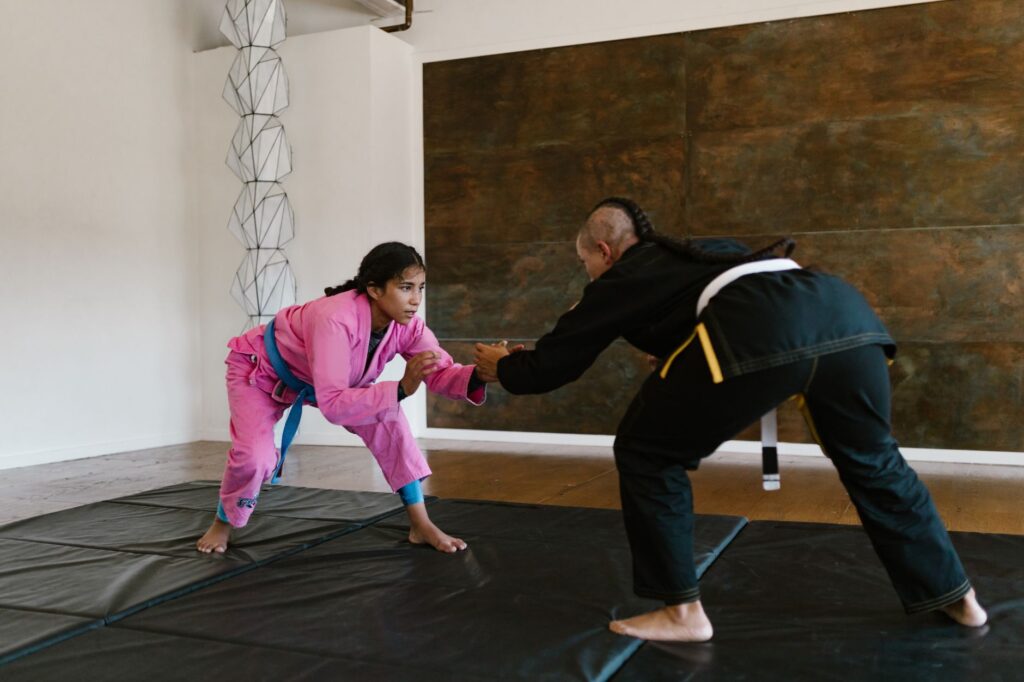
Guard recovery is a decision, not a move. Learn to read the window, frame before you move, and pick the right recovery tool for the position you’re in.